The Artist’s Life: About Linoleum Block Printing
I’ve written up some basic information about block printing because people ask me to explain so often, and others are interested in giving it a try.
Linoleum block printing is a technique wherein the artist carves the surface of a piece of artist’s linoleum, leaving raised areas which will become the image. Ink is rolled onto these raised areas, then a piece of paper is pressed against the block and when it’s lifted away the ink remains, leaving the image on the paper. This is called “relief printing” where the surface holds the ink rather than the printing process of “intaglio” where areas of the plate etched away hold the ink.
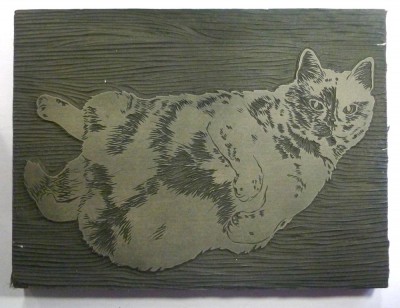
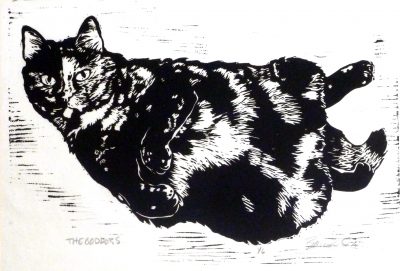
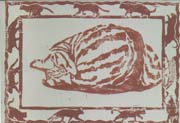
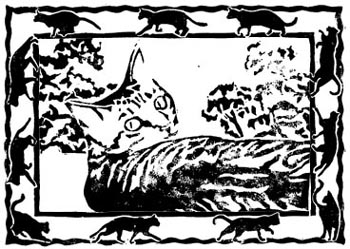
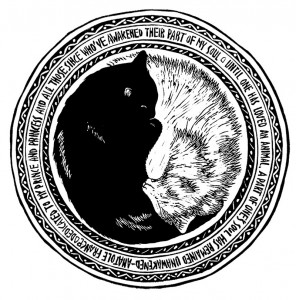
Below, the linoleum block I use to print “The Goddess”, and a black-only print so you can see how the lighter areas on the block are the raised areas where I roll the ink, and that translates into the black areas in the print.
Wood block printing is similar and a much older art; linoleum is a recent invention from petroleum and rubber products where wood has been around since before humans and has always been used by humans. Wood can be carved to use for the same type of relief printing as linoleum blocks, and very hard woods can also be used for engravings and intaglio printing. Carving wood is very hard on my hands and after many years of typing I have quite a bit of tendonitis and repetitive motion strains I decided to stay with linoleum, though I love the look of wood block and intaglio prints.
Because of this process of inking and applying, each print is slightly different and therefore unique. You can use different colors of ink, even multiple colors in one print, and where you typically want full ink coverage over the smooth raised area you can also marble the ink with water or alcohol, or wipe ink away for variations in prints. And as I do with several of my prints, you can print on different colors or types of paper or fabric or any other surface that will hold the ink for you, and later add color to the print in various ways.
Materials and techniques
Linoleum blocks are available in many different forms. The linoleum itself is usually about 1/8″ to 3/16″ thick ranging from a denser, harder type that can hold a lot of detail cut with special linocutting tools to a soft, flexible material that can actually be cut with scissors. Some brands are available on a backing of half-inch particle board or a thinner masonite, while most are available without backing. All are available in smaller common sizes like 5 x 7 and 8 x 10, and also in larger sheets or rolls that can be cut to custom sizes.
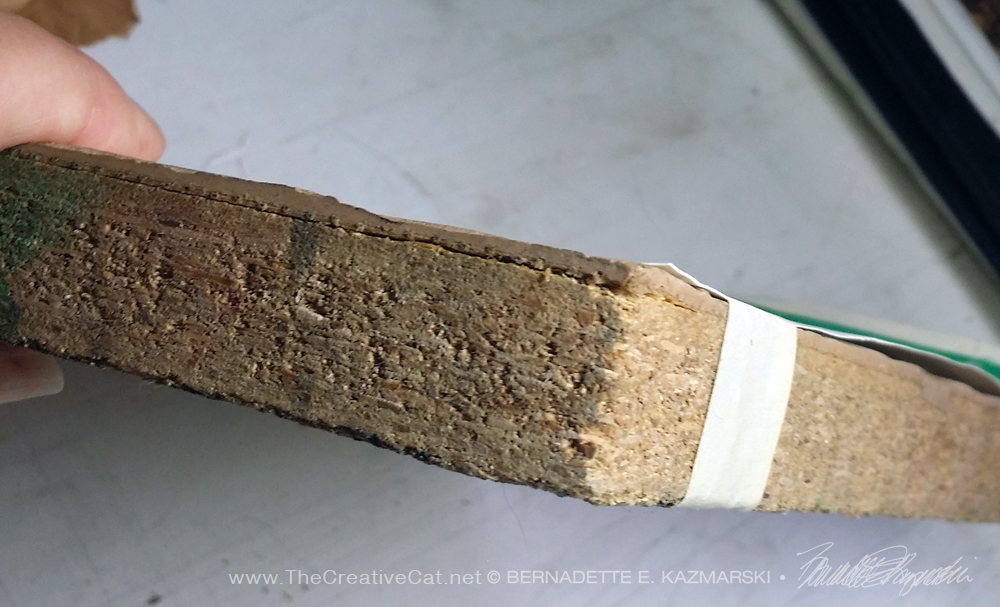
The linocutting tools are a collection of small but very sharp blades in a variety of shapes similar to wood carving tools to cut into the surface of the linoleum and remove areas that will not hold ink. Each blade fits and locks into a handle. These blades can inflict a lot of damage to your hands or anything else around you if they are not used carefully. One of these days I’ll make the video I’ve wanted to make demonstrating how blocks are cut, but for now plenty of good ones are available on YouTube.
Inks are water-based, oil-based and now acrylics are available. Nothing gives the soft, even coverage of water-based inks, but if they get wet the ink will soften and may run, so I reserve this for single-color prints and smaller note cards that aren’t likely to come in contact with any moisture. I used oil-based inks for years for my textiles and the prints I would later hand-color and although they were the most permanent inks I’ve ever used I hated the petroleum smell. Now I use acrylic or inks intended for block-printing on fabrics for almost everything. Screen printing inks are usually too thin because they are intended to squeeze through fabric to coat a surface, and acrylic craft paints are also too thin because they are fluid. Sometimes acrylic art paints will work but you need to test them to be sure.
You will also need at least one brayer which is like a small rubber paint roller, a plate which is a smooth surface to spread the ink so you can roll your brayer through it, and a baren which is a hard-surface object that helps to evenly press the paper against the block to make the ink adhere to the paper.
Designing the print
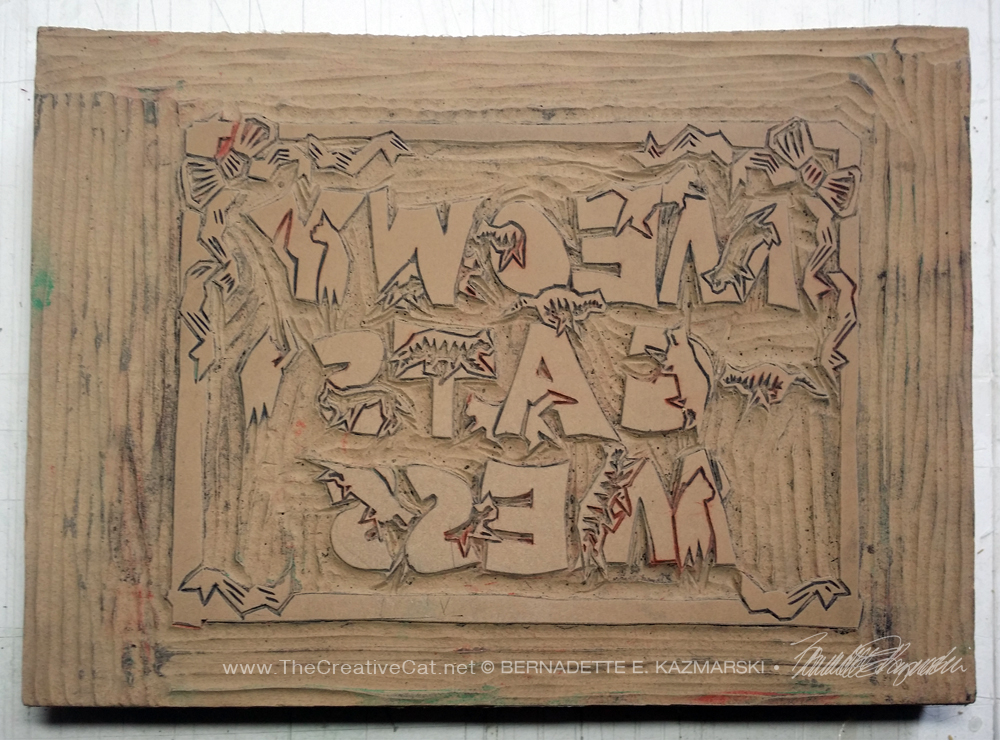
Remember that your image will have solid areas and open areas with no shading, so choose an image that will work well with this, deciding what will be cut from the block and left behind. Transfer the design to your block using transfer paper, or rub a soft pencil or chalk onto the back of your paper, tape it in place on the block, and trace all the outlines in your design. Looking at your block with just your design traced can be confusing, so it can help you while you are cutting if while tracing you also color in either the areas you are removing OR the areas you are leaving.
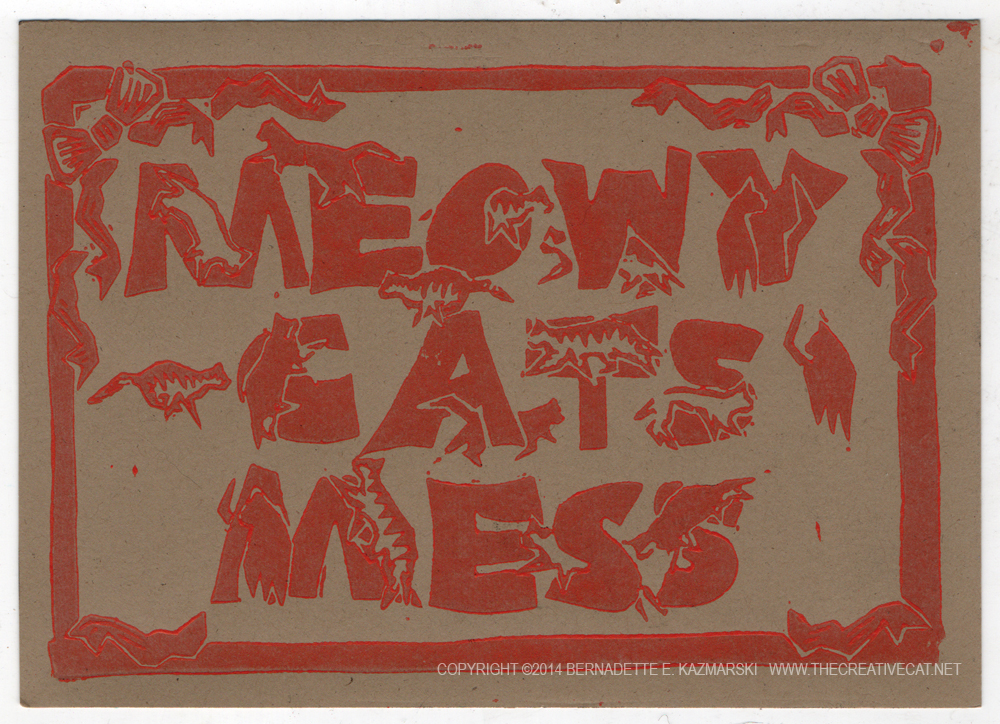
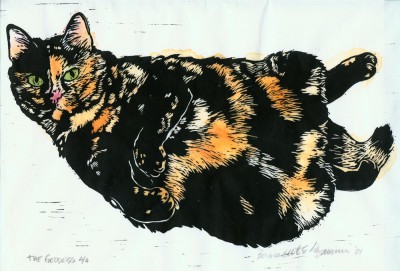
As you can see from the image of the block and print of “The Goddess” above, you also need to design your print in the reverse of the way you’d like it to print. Sometimes this doesn’t matter, but I began Cookie’s print with a big mistake. I had wanted her to be in the position you see in the print, but I also drew out the entire design on the block with her in that position—and if I would have printed her that way her distinctive markings on her half and half face would have been reversed. I washed off the block and started over. It would have been a total disaster if I’d done it with this one!
Printing
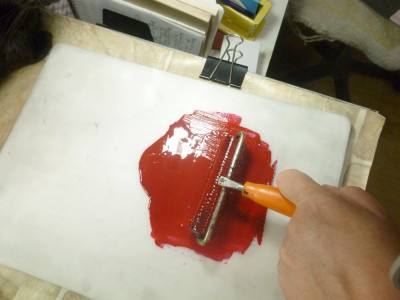
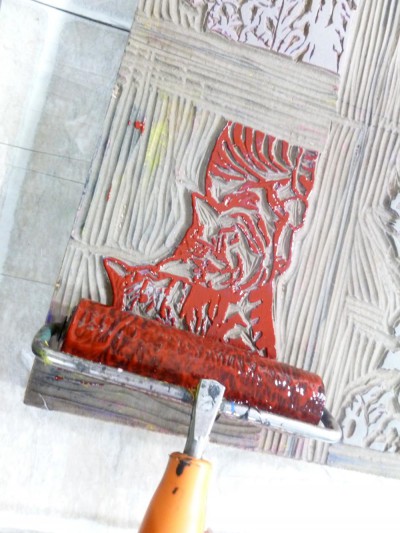
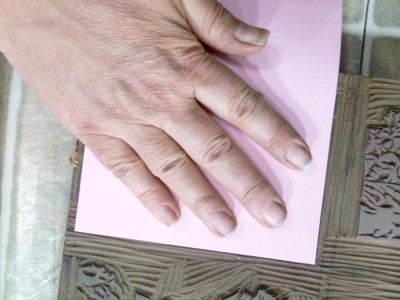
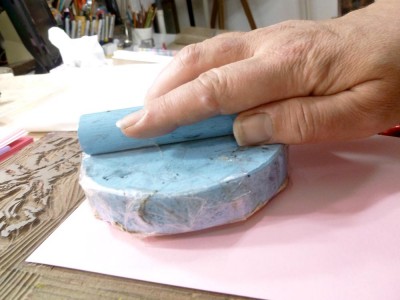
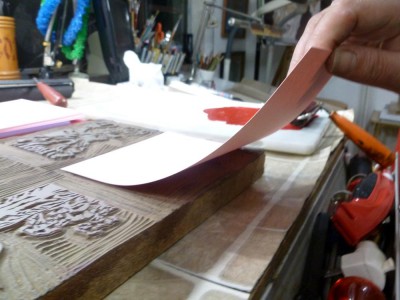
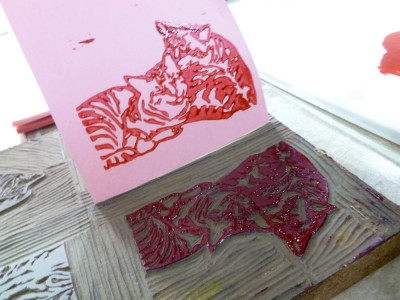
I have a set of photos I took while printing my Tabbies Valentines that will help explain how to print. The technique is the same whether you are printing paper or fabric, the most common surfaces. Block printing works best on any flexible, porous or absorbent surface like paper or fabric that has very little texture and a matte finish, but I’ve also seen people successfully print onto wood.
- Ink the brayer until the brayer makes a crackling sound against the plate which tells you the ink is evenly distributed on the brayer and the right thickness to adhere to the block
- Roll the brayer against the plate until you hear the same sound so that you know the ink has transferred.
- Press the paper or fabric straight down onto the block and don’t slide it around or the image will blur.
- Hold the material in place while you press your fingers against the material to make sure it’s evenly pressed against the block.
- Continue holding it in place and use the baren to continue pressing the material against the block.
- Once you feel the ink is well-transferred, and that’s one of those things that just takes experience, gently pull your paper up from the block and turn it over.
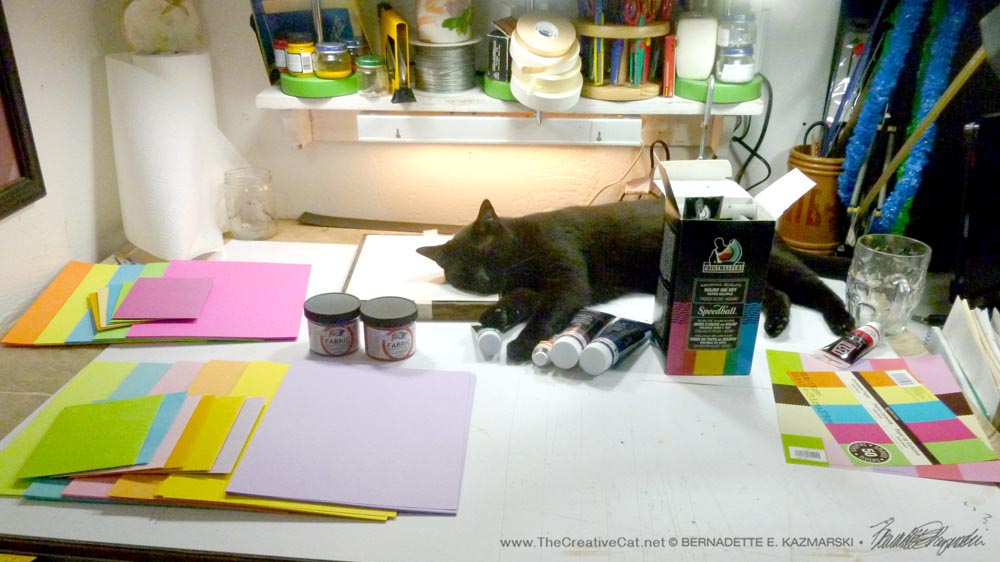
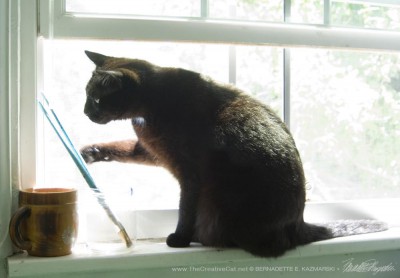
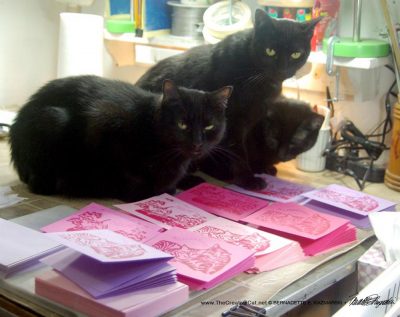
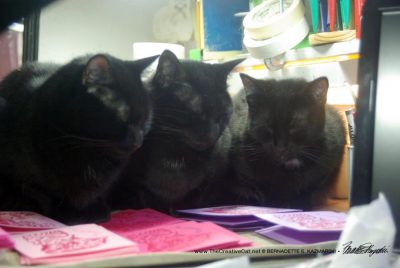
And, of course, I have my studio supurrvisors who check for quality control!
I hope you’ll give it a try!
Why block printing?
This is how I produce each of my block prints, and for all the work it seems to be I absolutely love the entire process.
I really enjoy working in this medium and I can free myself from the traditional media and a greater realism in rendering. I like the contrast of one solid color area against another, especially the black and white of traditional block prints on white rice paper, and I also like being able to hand-tint into the print, or use a base paper that is a color, pattern or texture to enhance the print.
I had created a few simple block prints on my own after seeing them in college to use as holiday cards, and found that I still have these blocks. Years later I decided to pick up my interest in block printing again and create a holiday card in 1996, which I still use today.
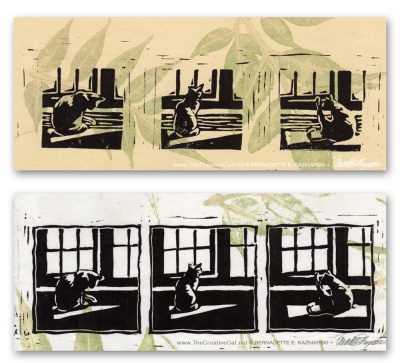
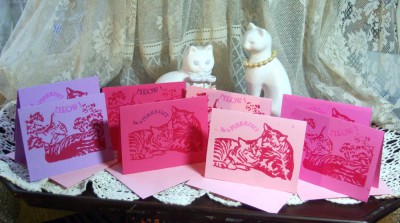
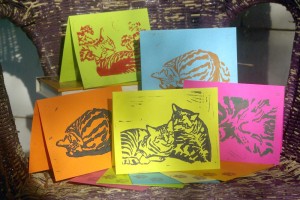
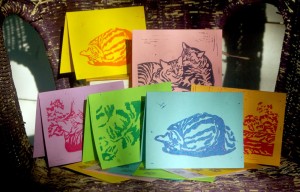
Then I decided I wanted hand printed note cards and designed my Tabbies series, below in the original designs with a border that I cut separately. Now that I have my printing studio in my basement I can print these much easier and you’ll see these in their original designs.
Later I began printing just the kitties onto various paper colors for Valentines and fun and colorful notecards.
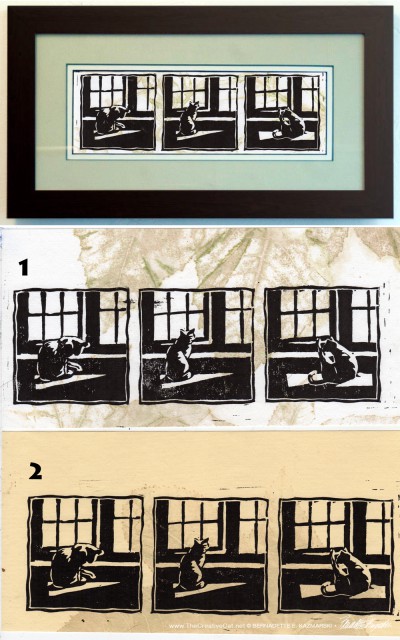
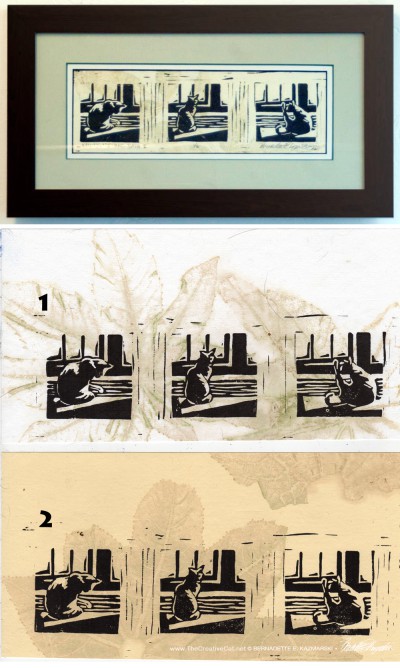
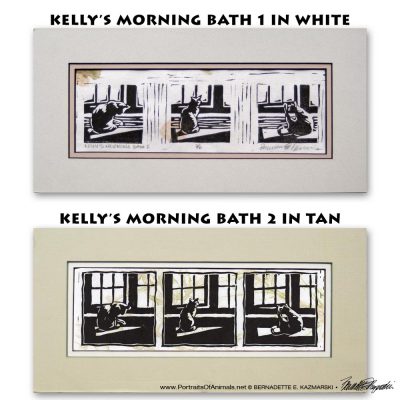
In 1999, watching Kelly bathe enthusiastically every morning in front of this window where the morning sun shines through the leaves at a wonderful angle, silhouetting her and the window itself, I visualized a finished work as a block print to capture the stark dark and light and later using various colored and patterned papers to capture the leafy essence outside the window called “Kelly’s Morning Bath”.
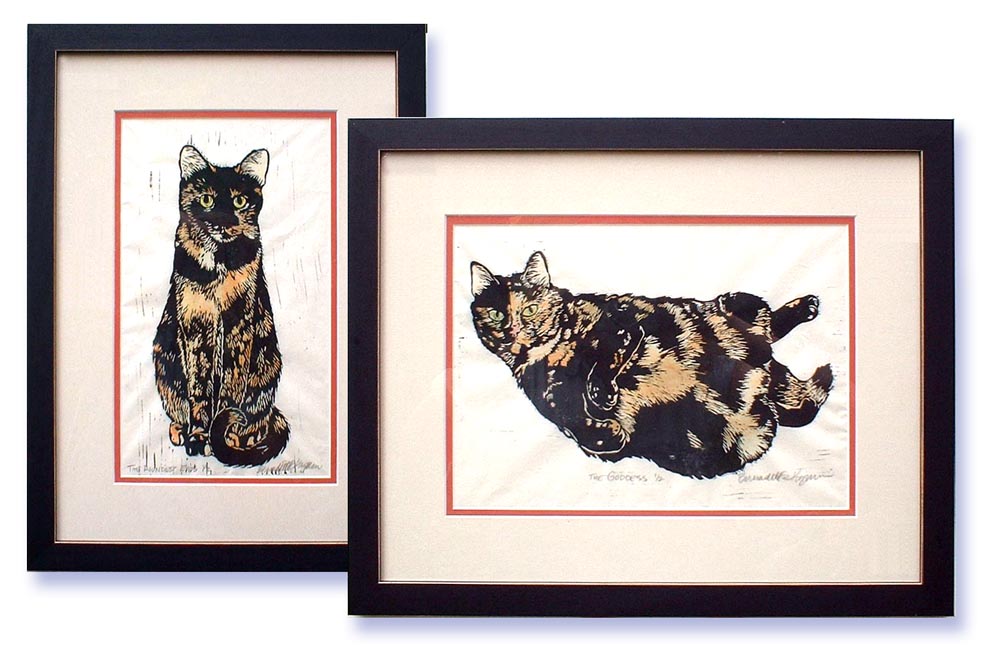
I visualized the “Tortie Girls” as black on white prints with the tortie orange and cream hand-tinted into the print. I initially designed these in 2001 because I wanted something I could print myself on a variety of things to offer inexpensively for sale and for donation; at the time high quality home printers and inexpensive digital printing were a few years in the future and all I had to offer was original art and expensive giclees. I’ve printed them on paper and fabric and they’ve been on trays and blocks and tees and tablecloths and placemats and tote bags. Each print is hand-painted in watercolor, and with the slight variations in the printing process and the individualized coloration each print is just as unique as torties themselves.
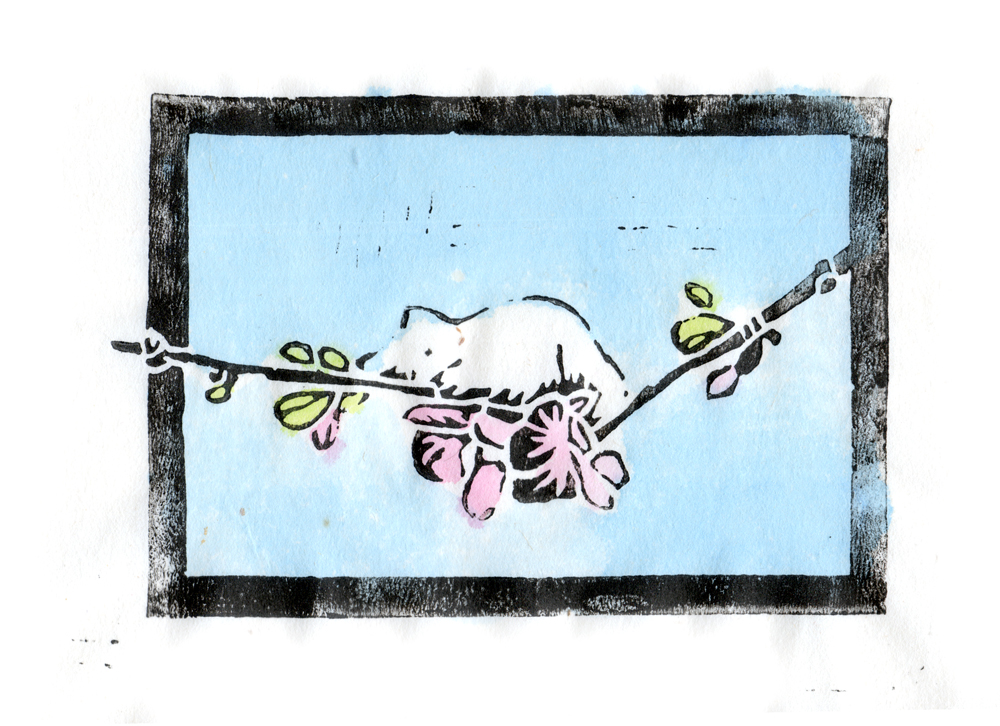
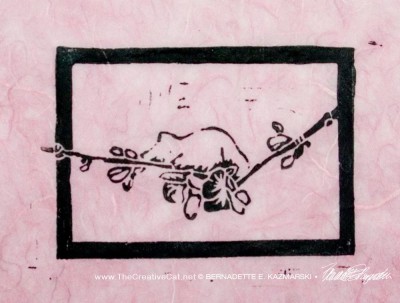
I also visualized another block print, a small and simple design, that could stand in black only or be hand-tinted, a way to express a memory from many years before, in “The Spring Kitten”.
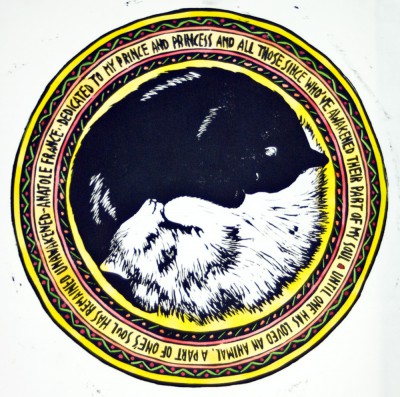
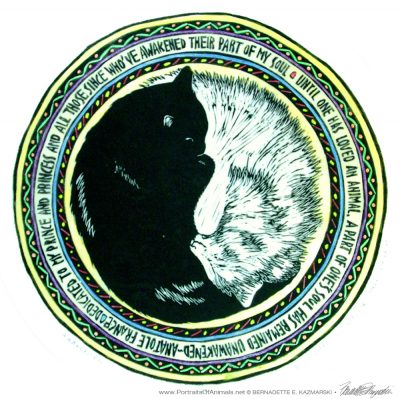
Then in 2004 I visualized a more decorative block print incorporating cats, text and decorative borders. I have always admired decorative elements in paintings, prints and other art, but I never seem to remember that when I create my own art, and I’ve criticized myself for that lack of insight when, later, I think how nice a border or a pattern would look in a work I’ve finished. The initial inspiration was a photo of Kublai and Sally sleeping like Yin and Yang, and grew from that into “Awakening” which I love in that original black ink on white rice paper but equally enjoy adding color for seasons or themes.
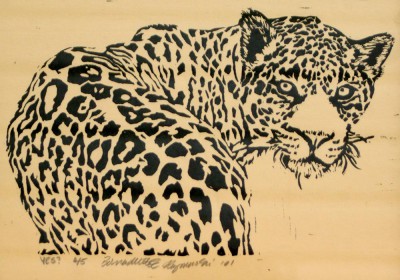
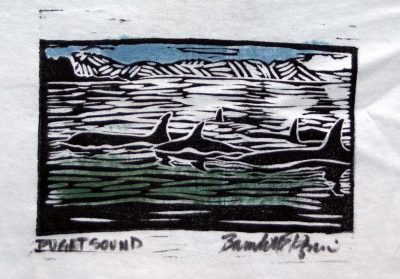
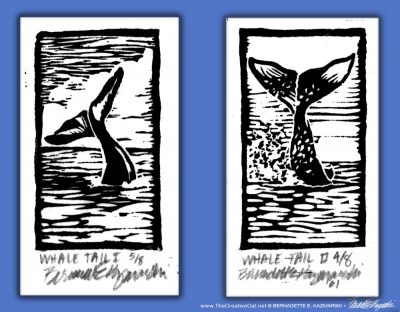
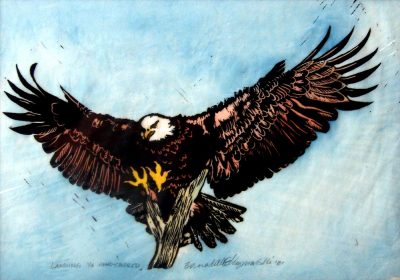
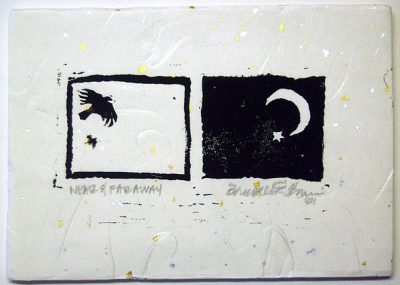
The versatility of the Tortie Girls led me to create nature and wildlife block prints back in 2001 as well, and they’ve all been part of my merchandise displays ever since.
You can see all of it on my page of Hand-printed Art, Housewares and Apparel.
Read more articles in The Artist’s Life series.
Gifts featuring cats you know! Visit Portraits of Animals
Fine Art • Photography • Gifts • Greeting Cards • Books • Commissioned Portraits & Artwork
Visit my Handmade Gift Gallery to see what they’ve inspired!

Copyright
All images and text used on this site are copyrighted to Bernadette E. Kazmarski unless otherwise noted and may not be used without my written permission, although links to your site are more than welcome and are shared. Please ask if you are interested in using and image or story in a print or internet publication. If you are interested in purchasing a print of an image or a product including it, check my animal and nature website Portraits of Animals to see if I have it available already. If you don’t find it there, visit Ordering Custom Artwork for more information on a custom greeting card, print or other item.
Subscribe to my e-newsletter
Subscribe to The Creative Cat Preview E-newsletter.
© 2022 | www.TheCreativeCat.net | Published by Bernadette E. Kazmarski
Weekly schedule of features:
Sunday: Essays, Pet Loss, Poetry, The Artist’s Life
Monday: Adoptable Cats, TNR & Shelters
Tuesday: Rescue Stories
Wednesday: Commissioned Portrait or Featured Artwork
Thursday: New Merchandise
Friday: Book Review, Health and Welfare, Advocacy
Saturday: Your Backyard Wildlife Habitat, Living Green With Pets, Creating With Cats
And sometimes, I just throw my hands in the air and have fun!






Pingback: Whale Tail, Tiny Linoleum Block Prints - Portraits of Animals
Pingback: Marketplace: Hand-printed Valentines (Purr-sonally Inspected By Discerning Black Cats) ~ The Creative Cat
Pingback: Whale Tail, a Tiny Linoleum Block Print - Portraits of Animals